Getting started - well begun is half done
Some basic setup and elements are required to start with the indoor composting.
- Space and location - Your kitchen's dry balcony is the ideal place to start with provided it is not very sunny and hot. The warm and dry corner is very ideal for the composting which expedites the pickling process (explained in subsequent sprints) and forms a nice fungal layer on the top of compost. In case you have cold or shadow area, the pickling process may take longer time, but it will be more ideal for neat and clean (without any unpleasant smell) composting.
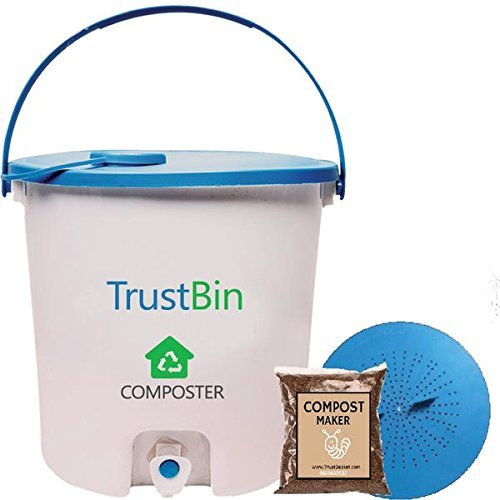
- Composting container - There are different kinds of composting containers available, mainly of two types - open air and close air. The open air composting containers are made of plastic and have a fine net on the top for the air circulation. There are some earthen pots with porosity at their bottom and a lid on the top, also used for open air composting. I have tried the close air composting containers to eliminate even tiny chance of foul smell at home and also stack them to save space.
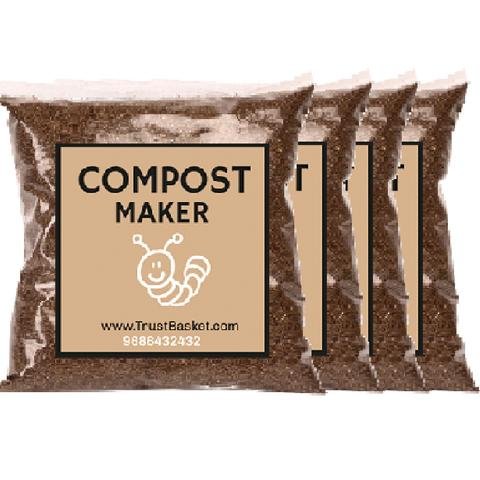
- Compost maker powder - This is important ingredients during the composting process which helps expediting the pickling of wet waste and firming the healthy fungal layer on the top. This also helps growing the earthworms (nature's farmer) inside the manure which eventually transfers into the grow bags. I got the compost maker powder from the online store and found it good for my composting.
- Jaggery or yeast - This is optional and only required when using close air composting to convert the liquid extracts into fertilizer. During the picking process the access moisture inside the wet waste drips down into the bottom of container (via the separator), mixed with jaggery and get converted into potion after fermentation. This potion is kind of concentrated acid and very good liquid fertilizer (dilute it properly before using for irrigation).
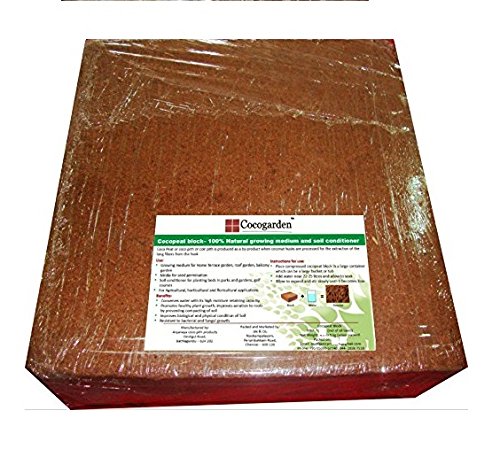
- Cocopeat - You can buy this from your local market or from online store. This comes as compressed blocks of coco husk and once you soak it into water, it expands almost 8-10 times of the volume. This is very handy and clean replacement for the dirt or soil and very lightweight to handle. Do not pour too much of water while expanding it as it will start discharging them during the settling process into the bucket and slow down the overall decomposition. This also helps keeping insects and flies away from your garden when mixed with Neem cake.
- Plastic bucket - You would also need a plastic bucket to mix the pickled waste with cocopeat for resting and decomposition. A medium to large size of bucket with or without the lid is sufficient for this purpose. When using a bucket without the lid, you can use layer of papers to cover the bucket to make it airy and also keep away the house flies or gnats.

- Grow bags and base tray - This is required to store the compost for the initial days during the resting period where the final decomposition of wet waste takes place before transforming into the black gold. Later on, you can choose to shift the compost into pots or mix with garden soil or use the grow bag itself for planting. You may also need the base plate or tray or saucer to protect the floor from stains. With lots of experiments, finally I chose the egg crates as base tray for multiple reasons - easy and less expensive to buy, give an inch and half of elevation to keep the floor dry, fits exactly the size of grow bags and very convenient to move and arrange them.

- Basic gardening tools - very basic gardening tools are required for the home composting and you can easily buy them online. A pair of hand gloves is required while mixing the pickles with cocopeat into the bucket for the decomposition, or while transferring them into grow bags for resting. Similarly, you can have one two different sizes of Trowels and a garden fork. You can buy rest of the tools as and when required, based on your experience and convenience.


No comments:
Post a Comment